


Photoshop Tutorial: Create a Spiral Galaxy in 5 Easy Steps
This tutorial will teach you how to create a Spiral Galaxy in Photoshop using nothing but filters and simple transformation tools. The tutorial is aimed at beginners and youll learn techniques involving different transformation modes, the clouds filter, selection option and using blending modes. Should you run into any trouble feel free to leave a comment to enquire about it. So lets get started.
- Source : http://www.fudgegraphics.com
- 2850 hits
- Category : Drawing
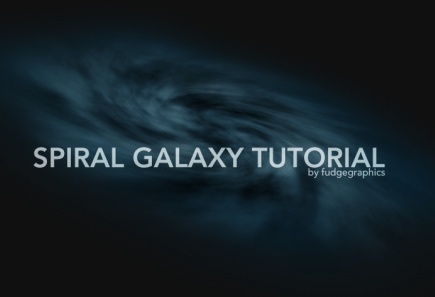
Final Preview :
Other Tutorial by http://www.fudgegraphics.com :

Tutorial: Create A Retro Cosmic Design in Photoshop
Added on 2009-09-22 02:04:10
Add a comment on Photoshop Tutorial: Create a Spiral Galaxy in 5 Easy Steps