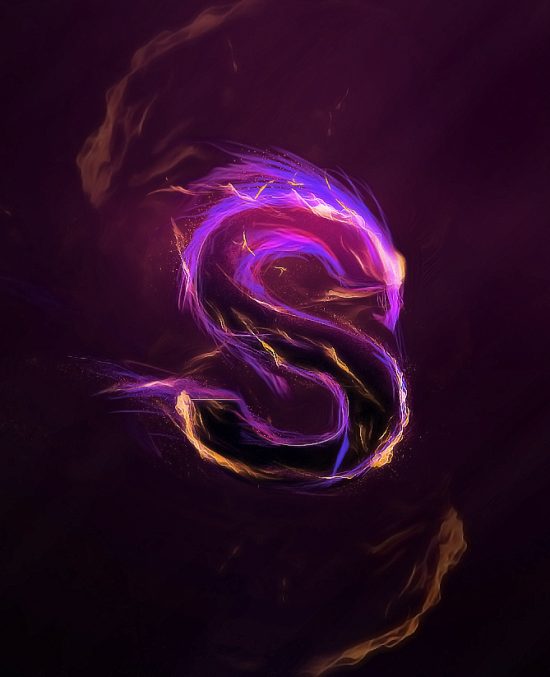
In this Photoshop tutorial, I will show you the steps I took to Design this Magical Fire Energy Text Effect in Photoshop. This is a beginner tutorial and I will show how easy it is to create a great looking text effect in Photoshop in just a few steps. We will come across some paintings, layer blending, and image adjustments. Have a try!
The PSD file of this tutorial is available via the PSD Vault VIP members area.
This inspiration of this tutorial comes from this artwork here.
Here is a preview of the final effect I have for this tutorial: (click to enlarge)
PSD Vault VIP Membership
You can download the PSD File for this tutorial via the VIP Members Area for only $6.95/Month (or less)! You will not only get this PSD File, but also 300+ other PSD Files + Extra Goodies + Exclusive Photoshop tutorials there. Signup now and get exclusive!

OK Let’s get started!
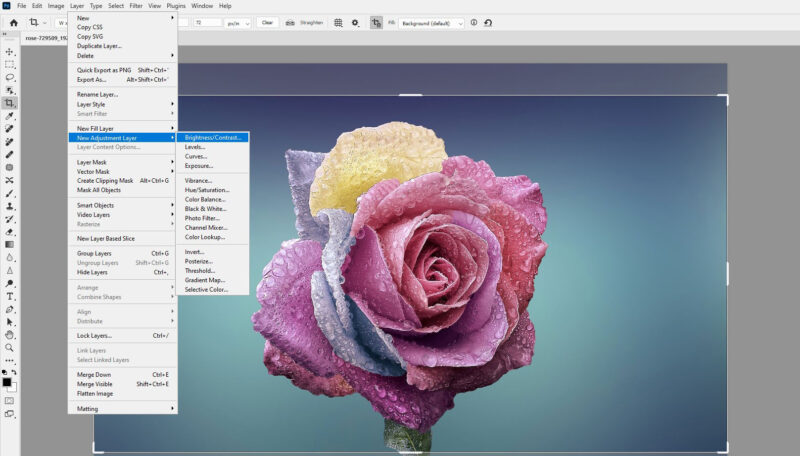
To complete this tutorial, you will need the following stocks:
Step 1
Create a new document sized 700px * 1000px with black background, and use the gradient tool to fill background layer with the direction and colour shown below:
We will be add some light over the background. To do so, draw a few dots as shown below on a new layer:
Apply the following Motion Blur filter to this dot layer:
Then, apply the Motion Blur filter again, but with a different Angle setting:
and here is the effect so far:
Step 2
Use any font you want, type a letter on the canvas:
Apply the following layer blending options to this text layer:
Bevel and Emboss
Contour
Texture
Inner Shadow
Gradient Overlay
Use a red particle brush (this should come with Photoshop by default), paint some particles behind the text:
Step 3
Now we can paint some lines around the text to act as energy from the text. I used a 2px, 85% hardness brush tool:
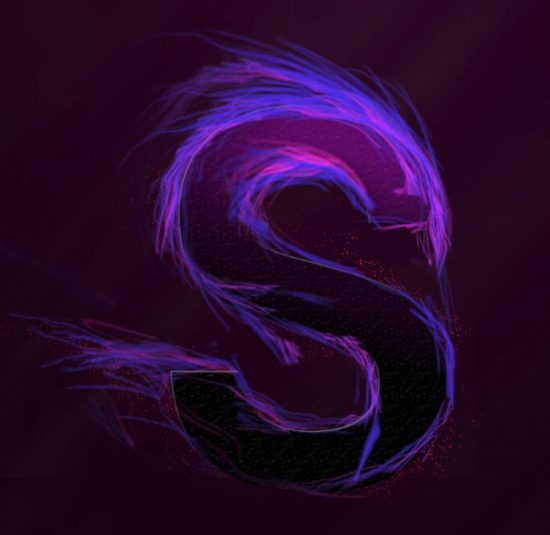
Use a similar colour as the text, paint some lines around the text as shown below:
Keep painting more lines, trying mixing the colours to add more variety for the text:
Step 4
We will add some fire texture over the text. Load the fire texture into Photoshop and select a piece as shown below:
Copy and paste the selection over to our text, and warp its shape the fit and letter, so it looks like it’s part of the text:
Change the layer blending mode to “Screen” for this fire texture layer:
Duplicate this fire texture layer, and use the liquify filter to warp this fire texture as shown below:
Then duplicate the liquify fire layer a few more times, and attach them to different part of the text as shown below:
Optionally, you can add some more fires around the text as shown below:
That’s pretty much it for this tutorial! If you’re happy with your own outcome, you can just leave at that.
I made a few colour adjustments afterwards, and here is my result: (click to enlarge)
Hope you enjoy this tutorial and find it useful. Drop me a comment below if you have any question.
Till next time, have a great day!


