In this tutorial, you’ll learn how to do professional facial retouching in Adobe Photoshop.
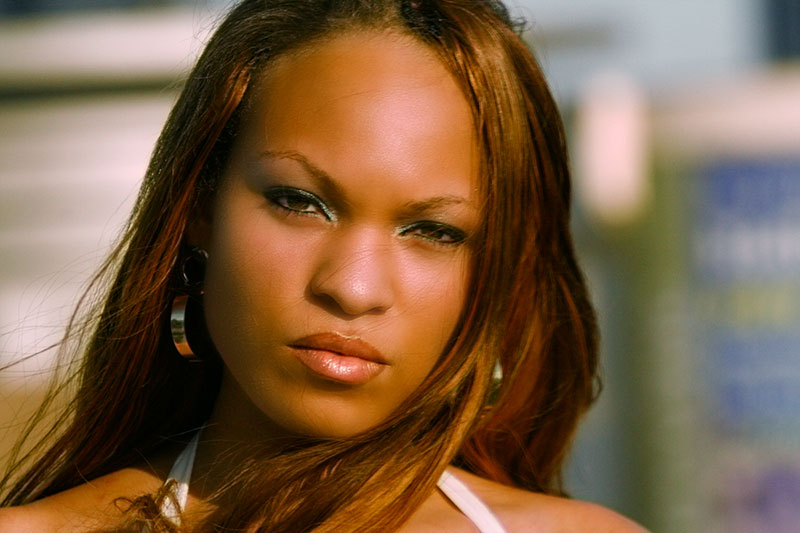
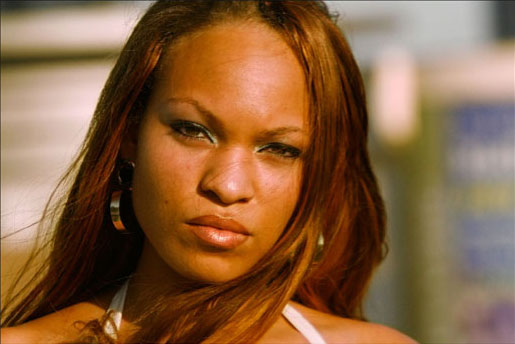
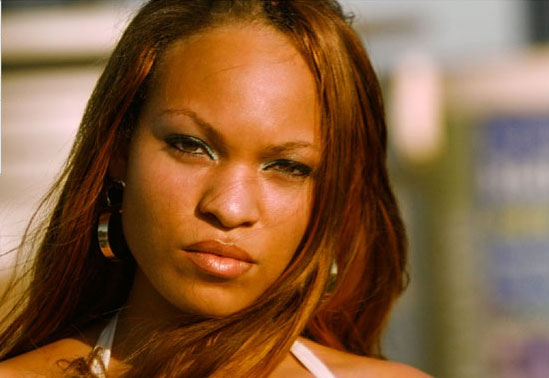
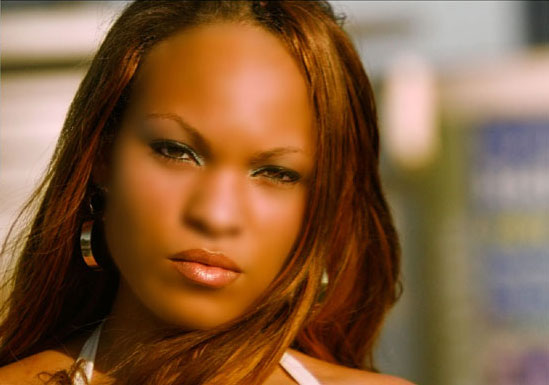
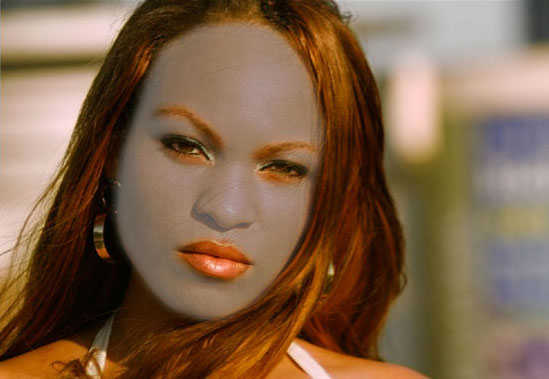
Final Image
Resources
Step 1
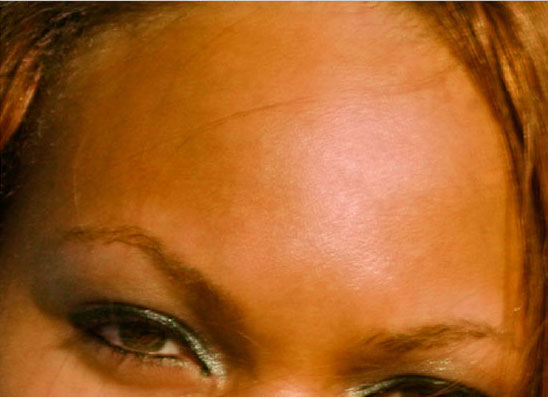
Open photo and resize it by using Image > Image Size to 1500 px width and 1000px height.

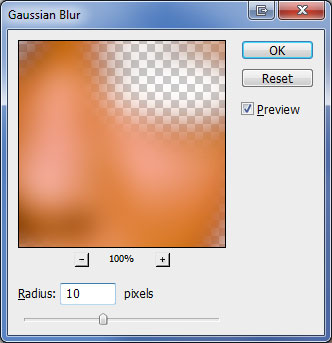
Step 2
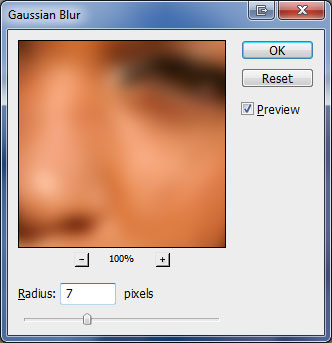
Let’s start by correcting color on photo. Copy layer by using Ctrl+J. Blur photo a bit using Filter > Blur > Gaussian Blur with following parameters:

Step 3
Change layer blending mode to Color for this layer.

Step 4
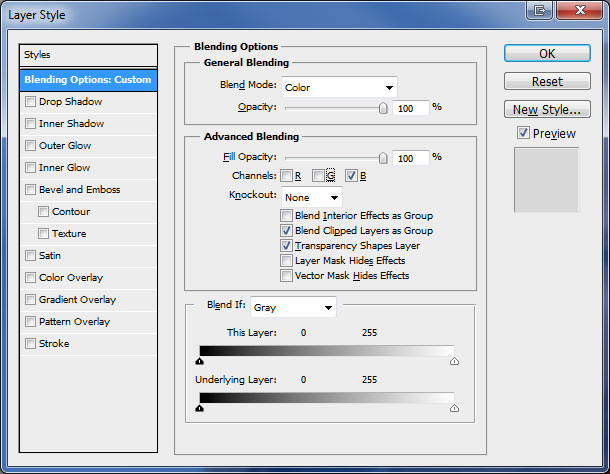
Go to Layer > Layer Style > Blending Options and on Advanced Blending remove check marks from R and G channels.
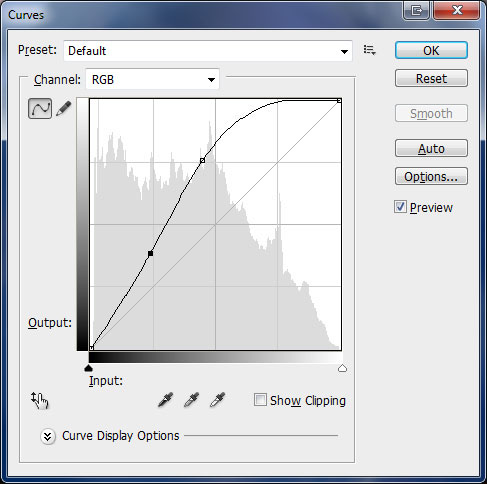
Now adjust color slightly to your taste on this layer using Image > Adjustments > Curves.
Step 5
Now we are going to remove skin defects. Create a new layer. Choose the Healing Brush Tool, then select Sampled in Source parameter and select All Layers for Sample parameter. Choose the part of the face, that we’ll be using as a sample.
Step 6
Using the Healing Brush Tool (choose soft edges of the brush) and holding the Alt button we choose the clearest skin area, then overlay the sample image on the problem skin area to remove the defect.
Step 7
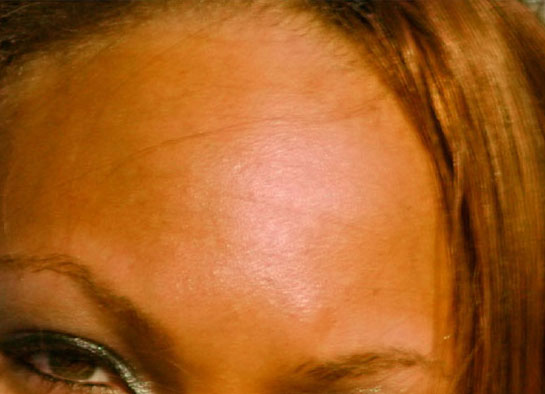
Then go to the forehead area and remove defects by using the same method.
Step 8
We also remove small wrinkles that possibly annoy the eye (still working with the Healing Brush Tool).
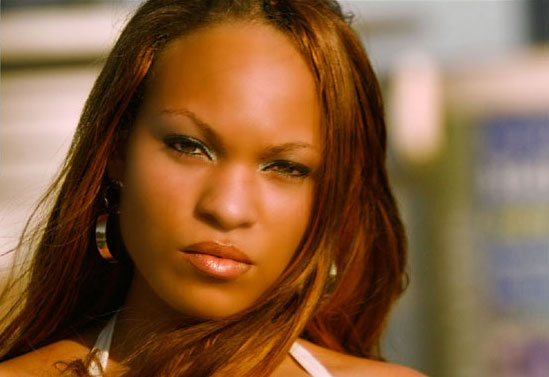
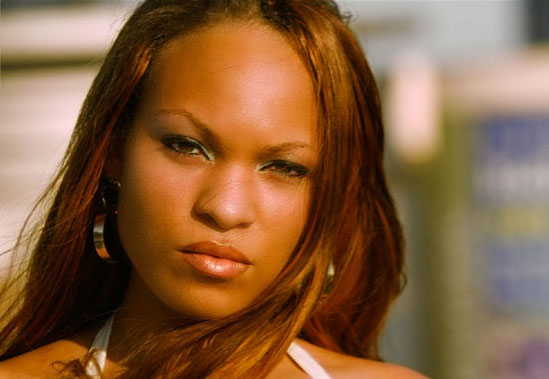
Step 9
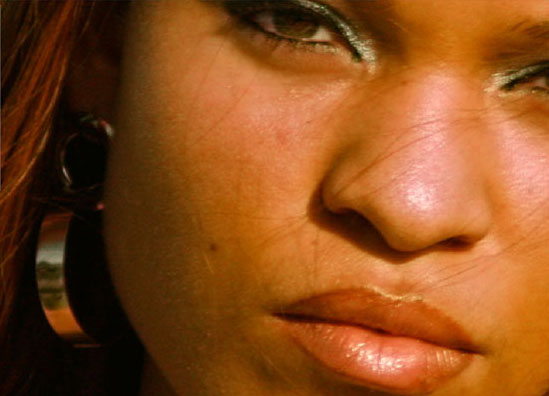
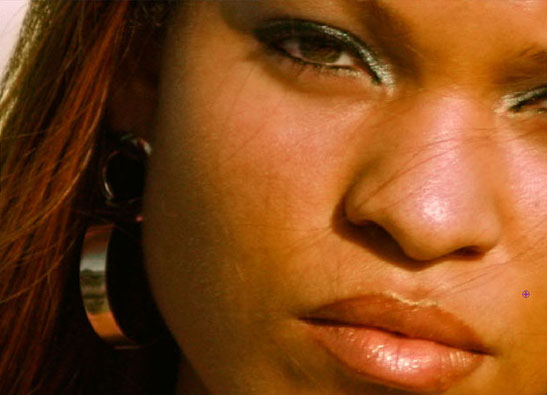
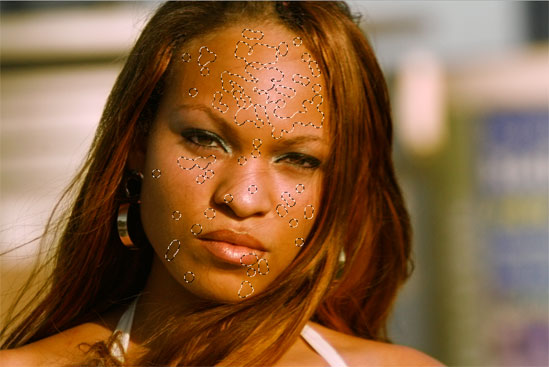
In the end, we should have the following result:
You can see in the photo below where I applied Healing Brush Tool:
Step 10
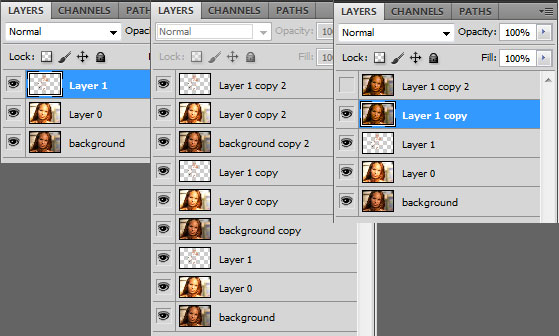
Up to this moment, we should have three layers – bottom layer (original photo), layer with color correction and the upper layer, on which we have carried out skin cleaning.
Copy all the three layers twice by using Ctrl+J for each layer, then move the copies of the three layers grouping them like on the image below.
Merge both new layer groups together, using Ctrl+E and you will have five layers. Temporarily turn off the visibility of the upper layer and work on the other layer (Layer 1 copy).
Step 11
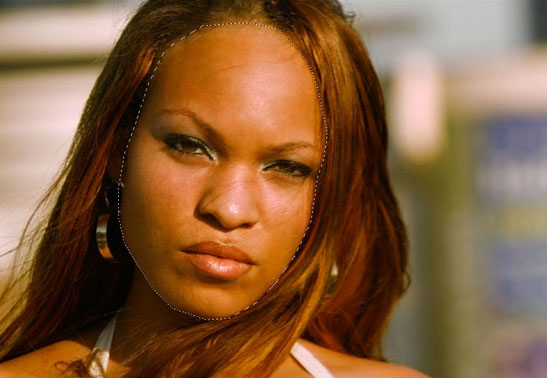
We are going to work on creating the perfect skin texture. Choose the Polygonal Lasso Tool and select the face (it’s not necessary to select regularly).
Step 12
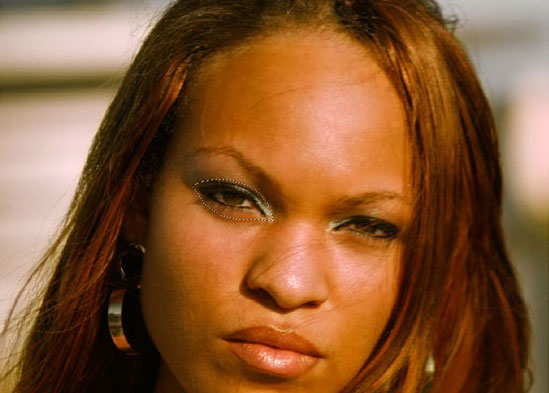
Invert the selection using Select > Inverse and delete everything that is situated in the selected area by pressing Delete button. On the layer, you should only have the face now. Select the eyebrow area using the Polygonal Lasso Tool and delete it using Delete button.

Step 13
Press Ctrl+D to deselect the selected area. Remove the second eyebrow and start deleting eyes on the same way.
Step 14
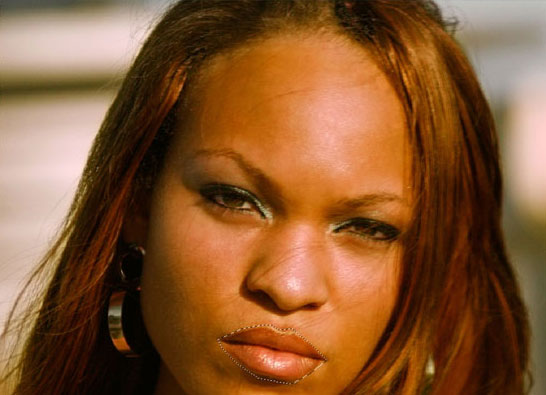
Now do the same thing to the lips area.
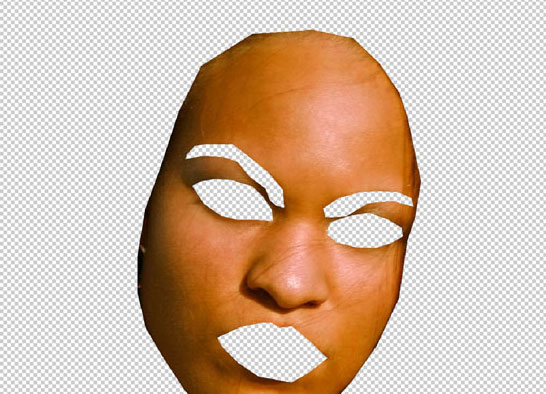
If you turn off visibility on all other layers you can see we should have something like a mask on the layer. Turn back on visibility on all layers except the upper layer.
Step 15
Apply Filter > Blur > Gaussian Blur to this layer with following settings:
Step 16
Change layer opacity to 65%.
Step 17
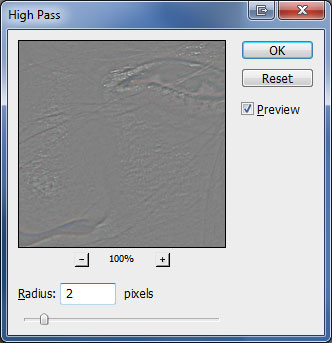
Turn on the visibility of the upper layer.

Create Clipping Mask for this layer using Layer > Create Clipping Mask. Apply Filter > Other > High Pass with following settings:
Step 18
Change blending mode on this layer to Linear Light.
Step 19
Change layer opacity to 50% for this layer.
Step 20
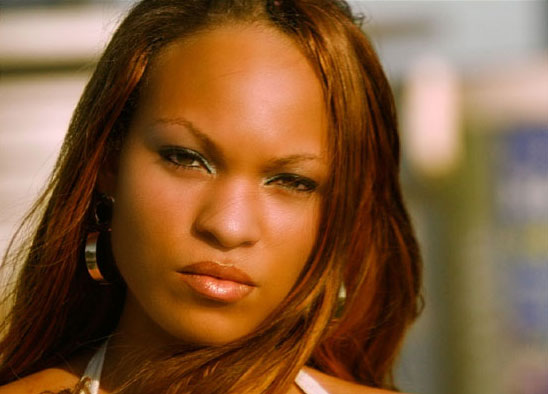
You can stop here if you’re satisfied with the result. But there are too many red and yellow color tones on the portrait, sometimes it can be noticeable on the last steps, as in this case.
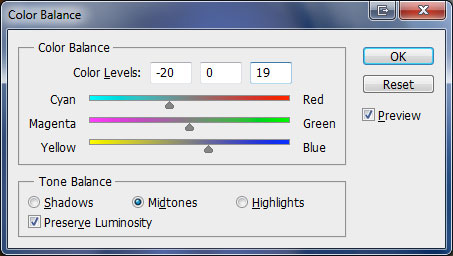
It can be easily corrected, for this purpose merge all the layers into one using Ctrl+Shift+E and apply Image > Adjustments > Color Balance with the following parameters to the newly created layer:
And We’re Done!
Now, this tutorial is complete. You can make an extra color correction as well or convert photos to grayscale or sepia mode. Hope this tutorial was useful to you.