
Learn to apply the Warp Tool effectively and a few other tricks to make smoke look like a skull. This technique has a variety of outcomes and works well with water, clouds and a whole bunch of other stuff. This is probably more for intermediate users, as I guide you through the process well, but not every Warp Grid point handle move. Let's get started!
By the way, you can also create a variety of cool effects quickly by downloading some of the Photoshop actions on Envato Elements, such as this amazing Smoke Photoshop Action.


Final Image Preview
Take a look at the image we'll be creating.


Video Tutorial
Our video editor Gavin Steele has created this video tutorial to compliment this text + image tutorial.
Image Assets
- Smoker - from my personal collection
- Skull - thanks to Martin Land for that
- Smoke 1, Smoke 2, Smoke 3, and Smoke 4
Step 1
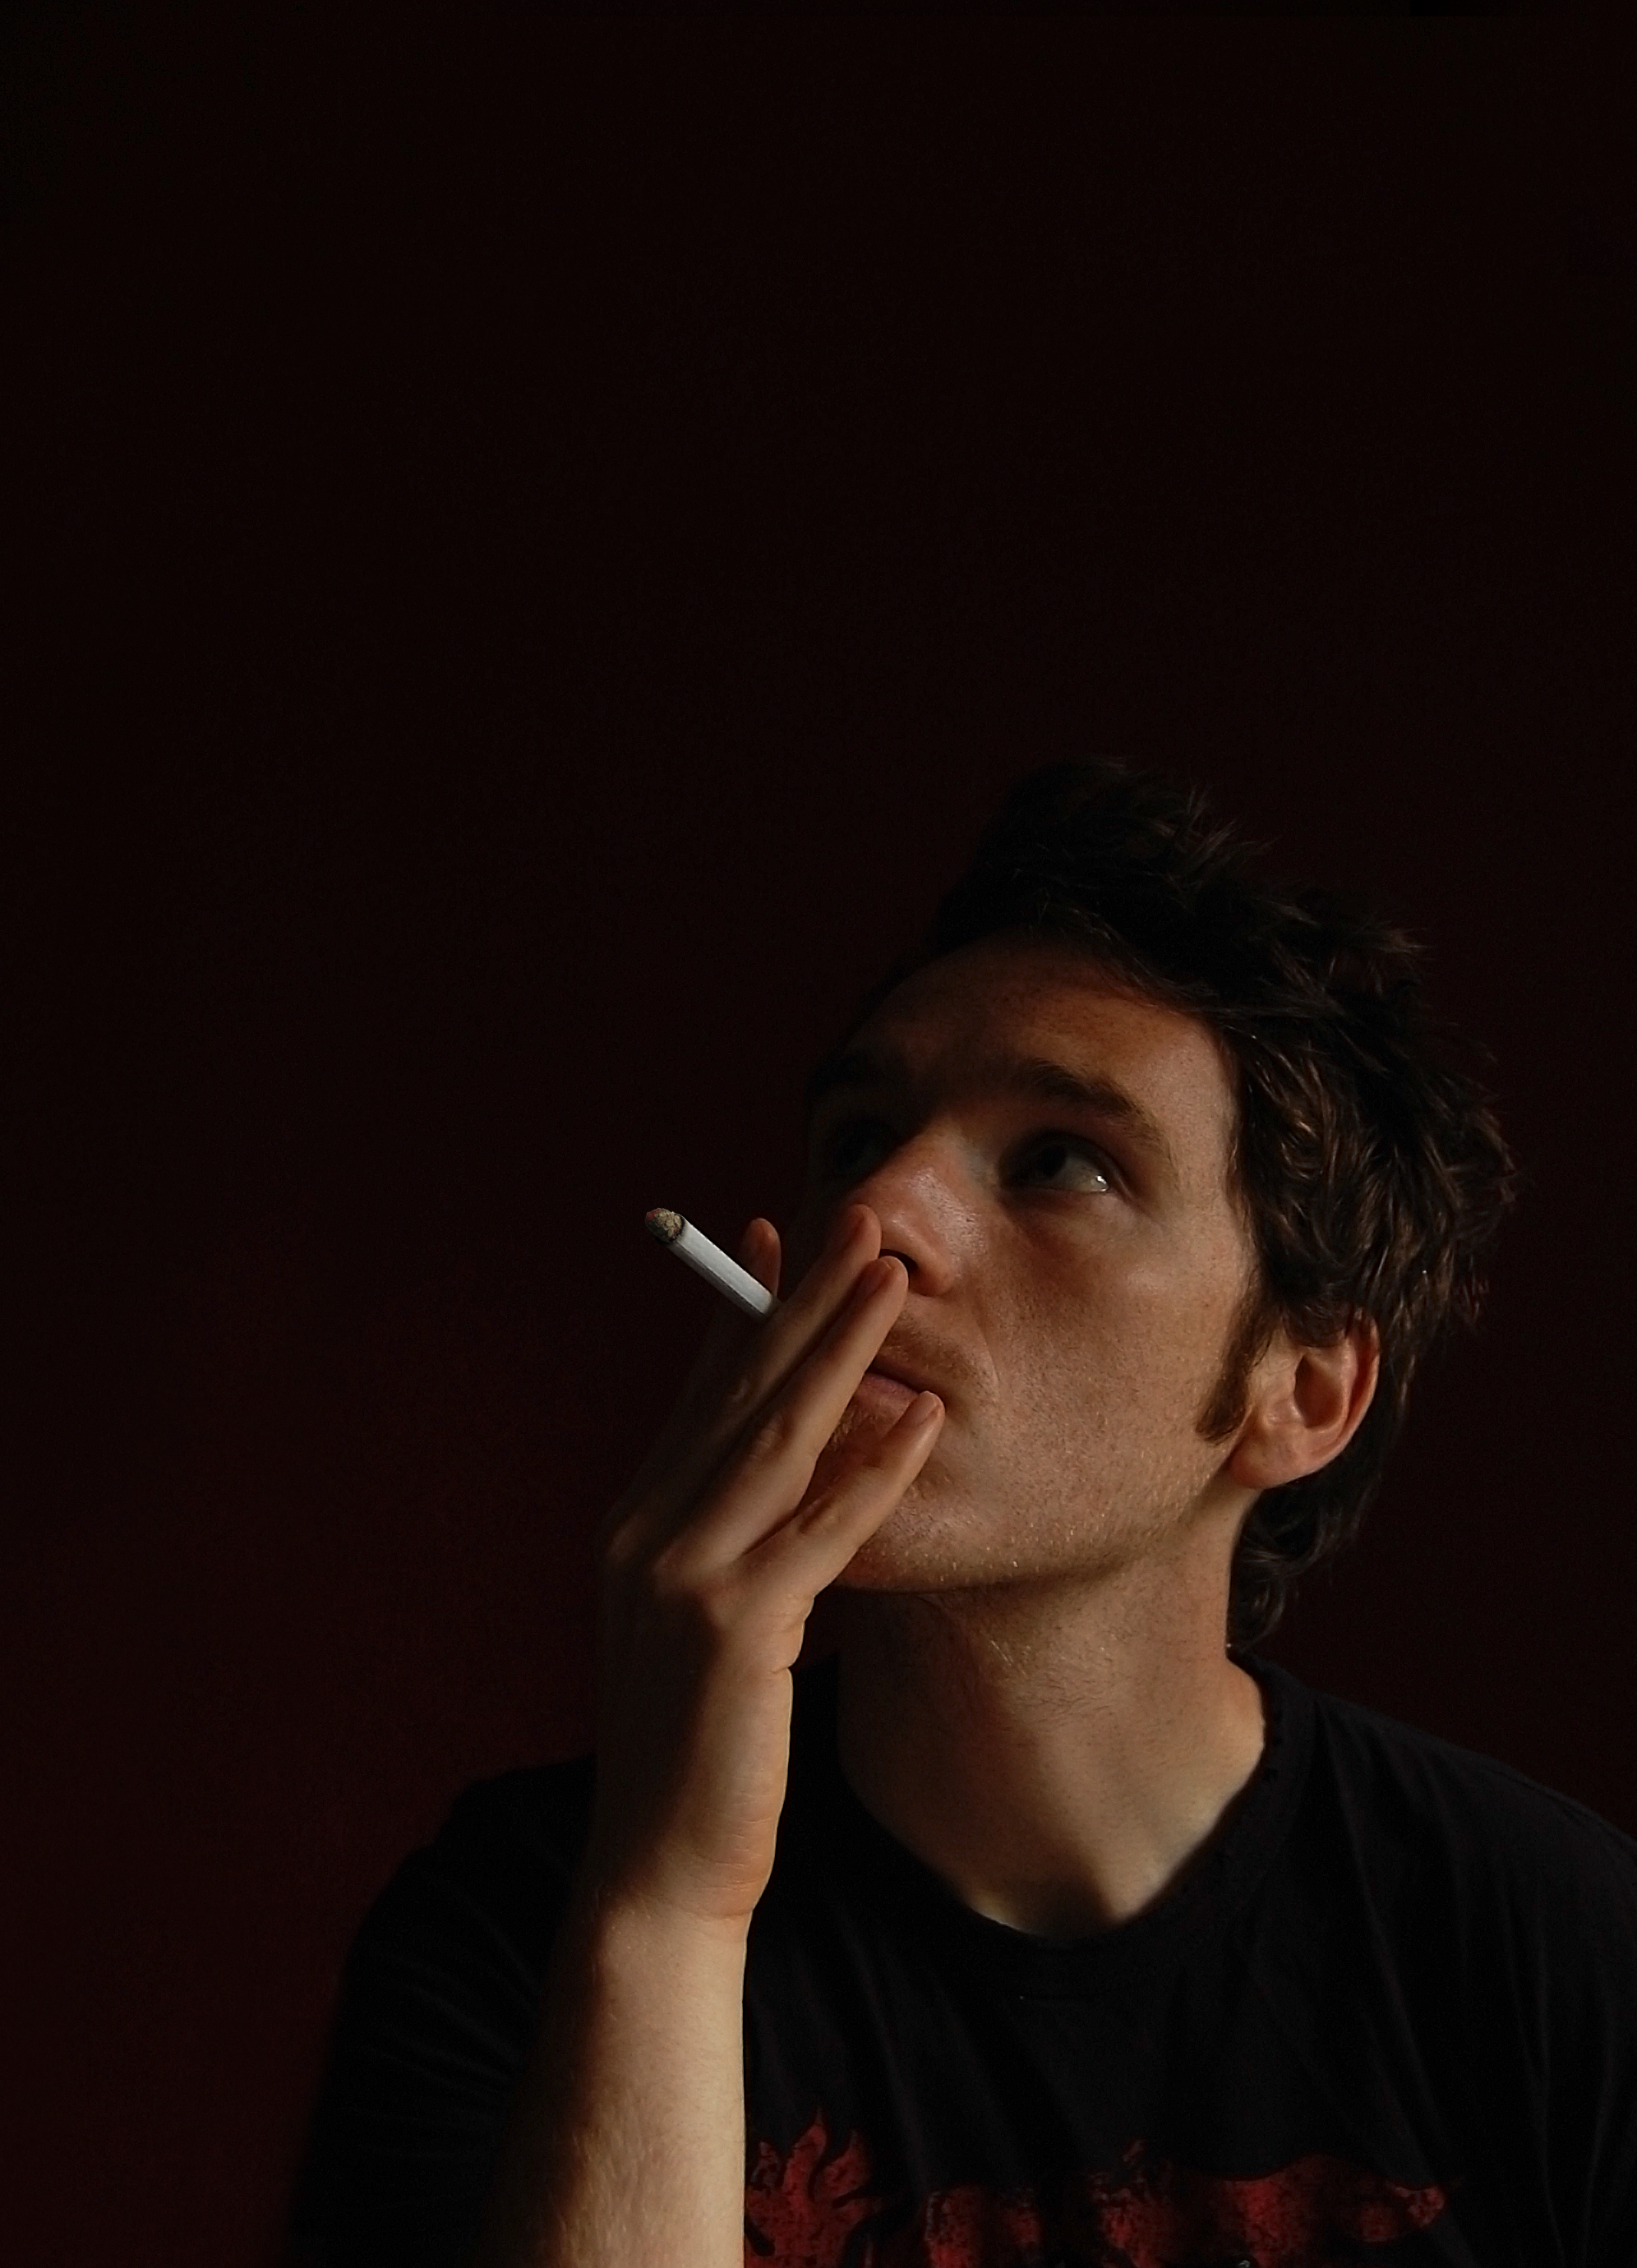
Open up Smoker image. It should look like this. That's me in the photo so please keep the abuse down to a minimum. I'll refer to this as the working document from this point on.


Step 2
Open the Skull image and draw a path around it using the Pen Tool (set to Paths not Shape Layers). Roughly clone out unwanted elements such as the nuts and bolts using the Clone Stamp Tool (with a soft edged brush).
Make a selection from your Path (Command-click the Path icon on the Paths palette) and copy and paste it into the working document. Flip it horizontally (Edit >Transform > Flip Horizontal) and then use the Free Transform Tool (Command + T) to rotate and resize it. You can flip it during this stage instead by entering -100% into the horizontal scale and then using the corner points to resize.


Step 3
Open the Smoke 1 image, then clone out the cigarette using the Clone Stamp Tool (with a soft edged brush). Then use the Polygonal Lasso tool to loosely draw a selection around the smoke, taking in some of the background as well. Copy and paste it into the working document and call the layer "CIG_SMOKE."


Step 4
Change the "CIG_SMOKE" Layer Blending Mode to Screen. You may now see some hard edges around the smoke, this is caused by the background not being true black, so select the Burn tool and burn. Then adjust the levels and finally Resize and rotate using the Free Transform Tool. See screenshots for the settings if you need them.


Step 5
Next we're going to treat the skull. Adjust the Levels (Image > Adjustments > Levels) as shown. Then select the Clone Stamp Tool (with a soft edged brush) and clone out the area of shadow in the eye-socket to the right-hand side.
Don't worry about being too accurate, it should take you a minute. Then desaturate the Skull (Image > Adjustments > Desaturate) and apply a Glowing Edges filter (Filter > Stylize > Glowing Edges) as shown.


Step 6
Select "CIG_SMOKE" and use the Burn tool (set to Midtones at an exposure of 37%) to soften the edge that meets the skull. I find it's best to stamp the tool rather than drag it around when affecting areas that you don't want to treat too brutally.


Step 7
Open the Smoke 2 image. Invert the image (Image > Adjustments > Invert) so the smoke is white and the background is black. Then copy and paste it into the working document, and name the layer "SMOKE."
Select the Dodge Tool (set it to highlights with an exposure of 18%) and run it up the right-hand side a few times. Change the layer blending mode to Screen. Finally copy the Layer (Layer > Duplicate layer).


Step 8
Use the Free Transform Tool to resize, but don't commit the changes. Instead go to Edit > Transform > Warp and adjust the Warp grid as shown below. You need to do it this way so that the Warp grid fits your graphic as you've resized and rotated it. You can manipulate the handles, the grid points and drag anywhere within each grid square. Now Burn to blend any hard-edges of the smoke.
We want to enhance the features of the skull so, still using the Burn Tool, use a soft edged brush to stamp on the eye area, but then ramp the brush hardness up to around 70%. Duplicate the "SMOKE copy," then use the Free Transform Tool to resize and rotate it to fit the jaw of the skull. Before you commit the Transform, go to Edit > Transform > Warp to bring up the warp grid, then manipulate as shown below.


Step 9
Continue layering up duplicates of the "SMOKE" layer to fit the contours of the skull. Blend out hard edges using the Burn Tool. Mix up the exposure using Shadows, Midtones and Highlights accordingly. This is trial and error so don't be afraid to use your History palette (Window > History) to jump back to an earlier point. Place some smoke over where "CIG_SMOKE" (the first smoke layer you created) meets the "SKULL" layer to create a more natural blend.


Step 10
Continue building up layers of smoke using copies of the original "SMOKE" layer. You can be fairly loose with the smoke outline, it will look more natural if it isn't perfect.
Use duplicates of layers that you've already warped and blended to fill in areas of similar detail, such as the eye sockets, or any curves around the skull. Turn the "SKULL" layer visibility off by clicking the eye icon next to the layer on the layers palette. This will allow you to see the build-up of you smoke layers.


Step 11
Now that the skull is beginning to take shape, we can add other patterns of smoke to it. Get the Smoke 3 image and open it. Desaturate, copy and paste it into your working document. Call the new layer "NEW_SMOKE."
Change the layer blending mode to Screen and then use the Free Transform Tool to rotate and resize so it fits at the left-hand side of the skull. Don't apply the changes, but go to Edit > Transform > Warp as before, and manipulate the grid to create a funnel-like shape from the smoke. The smoke would begin to disperse as it floats up so try and recreate this by breaking the outline of the skull. Again, blend any hard-edges out by using the Burn Tool.


Step 12
Now the skull is ready for some lighter, wispier areas of smoke, which should add realism to it. Download the Smoke 4 image and open it up. Have your working document window open to the side and identify which parts of the image can be used and where.
Select a portion of the smoke with the Polygonal Lasso Tool, then copy and paste it into the working document. Call this new layer "WISPY_SMOKE." Remember to desaturate the layer and change it's blending mode to Screen. Then Free transform, Warp and Burn as you did before.


Step 13
Keep building the skull shape using duplicates of the same smoke assets we've been using up until now. Don't forget to use all the tools we've been using along the way: Burn any hard edges or any patches of detail you wish to get rid of. Flip, rotate and resize areas of smoke. Use the layer opacity to create thinner smoke as it disperses. It should be looking roughly like the image below by this point.


Step 14
To make the next couple of steps easier it's best to flatten all your smoke layers (select them all in the layers palette and go to Layer > Merge Layers). Once that's done, you'll need to change the layer blend mode back to Screen. Use the Burn Tool to burn out areas in which the skull has features.
Switch the Burn Tool's exposure between Shadows, Midtones and Highlights as needed. Try not to over burn any area, as this will damage the pixels. I find the best way to avoid this is to stamp the tool down, rather than dragging the cursor. Turn the "SKULL" layer on for reference if needed.


Step 15
Hide all your smoke layers and select the "SKULL" layer. You should have a white keyline around the skull, which is a by-product of running the Glowing Edges Filter. Use the Eraser Tool to remove this. A fairly small brush with a 0% Hardness and 100% Opacity and flow would be best.
Turn any smoke layers visibility back on, select the "SKULL" layer and apply Levels (Image > Adjustments > Levels) as shown. This should add detail to the features of the skull.


Step 16
Now we need to better blend in the features. Using the same smoke assets (I used Smoke 2 and Smoke 3) and the same techniques, position smaller bits of smoke over key areas of detail. See how the smoke seems to come off of the teeth and nose, this will really fuse the details with the smoke.


Step 17
Select the "Background" layer (should be the smoker), then go to Layer > New Adjustment Layer > Curves and set up as shown. Select the Adjustment Layers Layer Mask then go to Select > All and fill it with black. Select the Paintbrush Tool and set it up as shown, then start painting white onto the layer mask to reveal parts of the Curves Adjustment Layer effects.
Use a smaller brush to get smaller areas of detail such as the eyes and any highlights on the skin. Keep painting over areas until you improve the lighting and contrast. If you paint too much then scale back the Layers Opacity.


Step 18
Create a Levels Adjustment Layer above the Curves one and set up as shown.


Step 19
Select the uppermost layer on your layers palette (should be the merged "SMOKE" layers) and go to Layer > New Adjustment Layer > Gradient map (this is optional, add whichever color scheme you see fit, or leave it natural). Edit the gradient so you have color #003949 (if you click the colored rectangle marked Color within the gradient editor window then the color options will appear.
The number field is where you input the values affecting the dark pixels and color #fdfea3 affecting the lighter pixels. Change the Layer Blending mode to Color. Finally, set up a paintbrush as shown and paint on the Layer Mask to reveal some of the natural skin tones underneath. A couple of passes should do it.


Conclusion
Et Voila! I've added a bit of post to the final image, a vignette, High Pass filter and some other tricks I usually do to finish an image (PLUS users check "SMOKE_LAYERED_POST.PSD").
It's worth mentioning that I duplicated the "SKULL" layer and deleted all but the teeth area, as I didn't think it was strong enough. I also tweaked the Adjustment Layers Opacities until completely satisfied in attempt to soften the noisy source photograph, which I must apologize for. You may want to take your own photos anyway.
Don't forget, if you're struggling with this effect, you can create effects with the click of a few buttons by using the Photoshop actions on Envato Market, such as the popular Skull Action for just $3.


