

This tutorial will walk you through a simple process of giving a zoomed-in effect for your illustrations. This can be used in numerous ways, but primarily for designing instructional visual material.
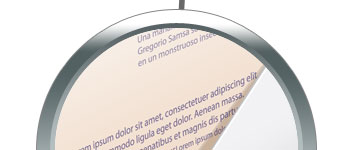
Preview

Setting up the Photoshop document
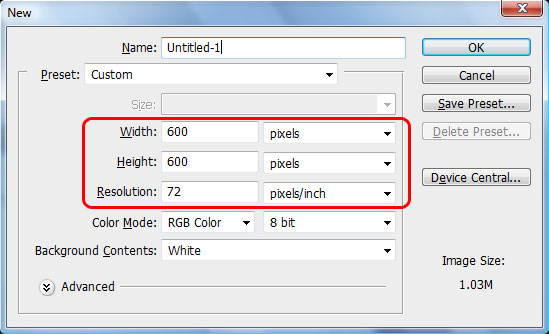
1 First, we are going to open up Photoshop and create a new document (Ctrl + N). In the New document dialog box, set the Width and Height units to pixels (if it isn’t already).
We’re creating a square canvas; set the width and height to 600 pixels. We’re creating a graphic that’s web resolution, so set the Resolution to 72 pixels/inch.
Adding graphics to the canvas
2 Choose a good resolution graphic (500 x 500px) which has enough resolution and detail to show as the zoomed part. Vector graphics are always great because you can rescale them without loss of quality.
Here I am using the Envelope Icon from the free Six Revisions Plastic Iconset. Paste (Ctrl + V) the graphic to the stage and name the new layer Zoom.

3 Duplicate the Zoom layer by right-clicking on it in the Layers Panel and choosing Duplicate Layer (Ctrl + J). Name the duplicated layer Small Graphic.

4 Go to Edit > Transform > Scale and scale down this layer to 40% and place around the top center on the stage.
Hide the visibility the Zoom layer.

Creating the zoom effect
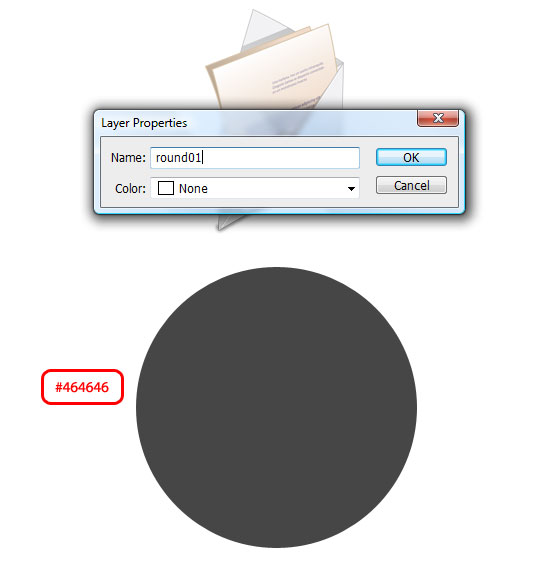
5 Choose a dark gray color (#464646), hold the Shift key and using Ellipse Tool (U) to create a perfect (and big) round circle shape. Name this layer round01.
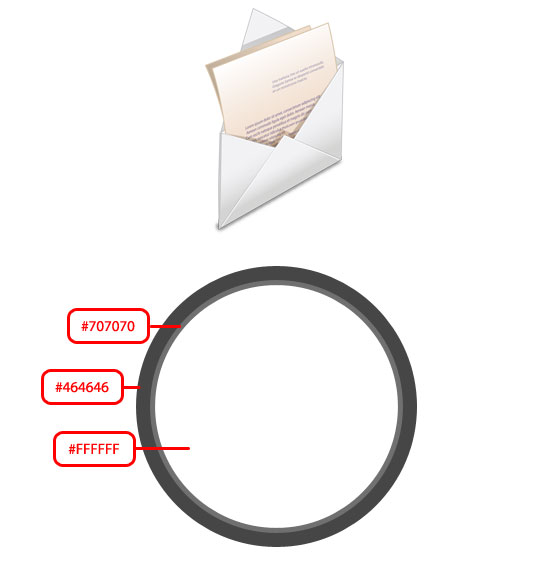
6 Duplicate the round01 layer, rename the new layer round02 and scale it down to 90%. Set the color of the ellipse shape to #707070.
7 Similarly, duplicate round02 and create a round03 with 96% scale down and color set to #ffffff.
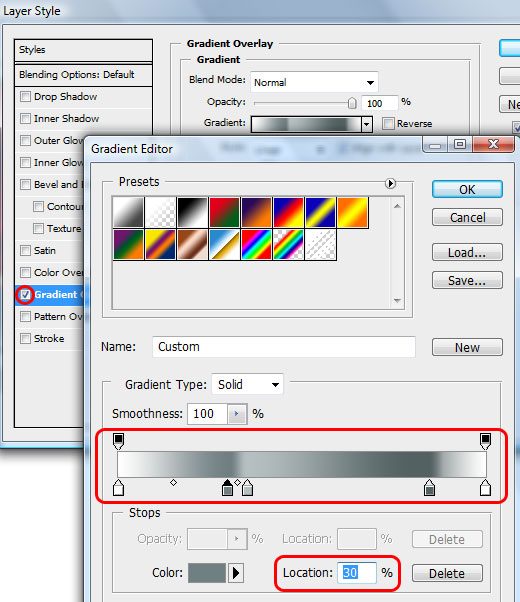
8 Select round01 and go to Layer > Layer Style > Gradient Overlay.
Click on the gradient and in the Gradient Editor, add color stops in this order: #ffffff at 2% location, #707f82 at 30%, #b5bfc1 at 35%, #536162 at 85% and #ffffff at 95% location.
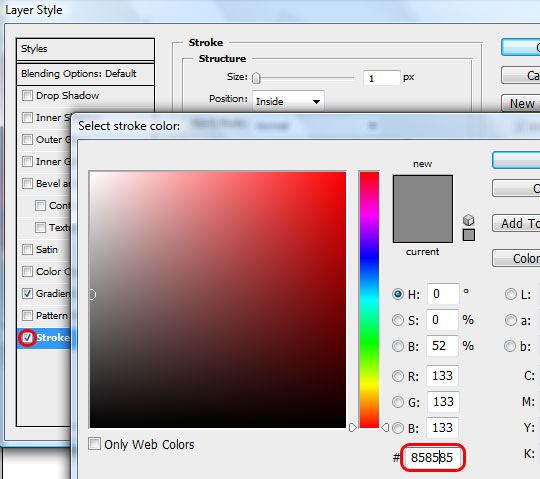
9 Let us add an outline. Go to Layer Style > Stroke. The Size option should be set at 1px, Position: Inside and Color: #858585.
10 Similarly, select round02 and add gradient overlay in this order: #e3e8eb at 0% location, #ffffff at 15% location, #6b797c at 40% location, #b4bebf at 50% location, and #576264 at 100% location.
Creating the handle
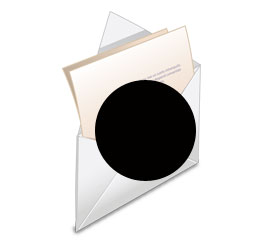
11 Choose the Small Graphic layer in the Layers Panel, add a new layer on top of it (Shift + Ctrl +N), and name the new layer handle.
Use the Ellipse Tool (U) and draw another round circle (remember to hold down Shift to make it a perfect circle) covering your small graphic’s main detail.
12 Duplicate handle shape layer, name it handle out, and scale it down to 95%.
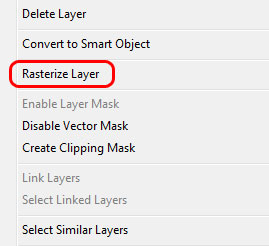
13 Rasterize the handle and handle out layers by right-clicking on the respective layer in the Layers Panel and then choosing Rasterize Layer.
14 Create a marquee selection around the shape by Ctrl + clicking on handle out layer’s thumbnail in the Layers Panel. Choose the handle layer in the Layers Panel with the marquee selection still active, and then press the Delete key to delete the area beneath the selection.
15 Select > Deselect (Ctrl + D) to deselect the selection and delete handle out layer (we don’t need this layer anymore).
16 Using Rectangle Tool (U), create a thin rectangle with each end touching the handle and zoom (alternatively, you can use the Line Tool).
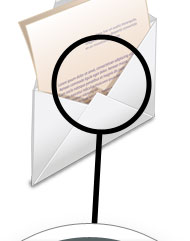
17 Rasterize the thin rectangle layer and merge it with handle layer by selecting both the layers in the Layers Panel and then going to Layer > Merge Layers (Ctrl + E).
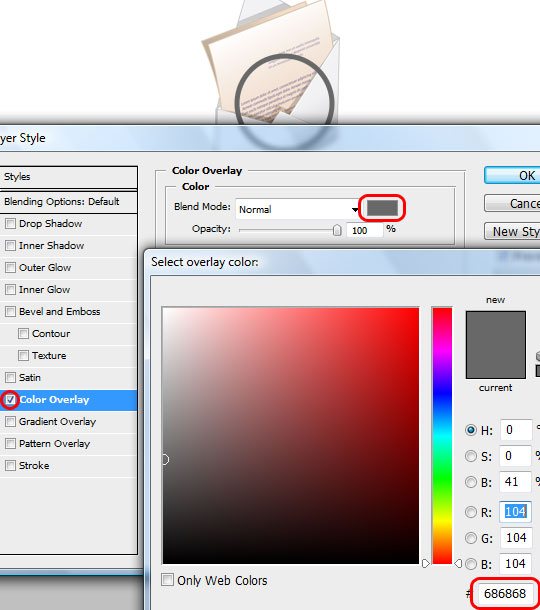
18 Add some color and outlines to the handle. To change the color, go to Layer > Layer Style > Color Overlay and set the color overlay to #686868.
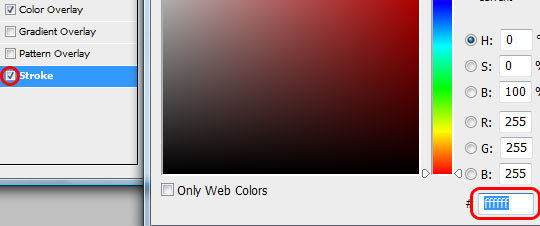
For the stroke, go to Layer > Layer Style > Stroke and choose 2px and a color of #ffffff.
Adding the zoom detail
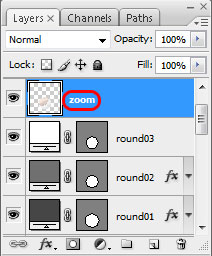
19 Unhide the zoom layer and move it to the top of round03 layer, in the Layer Panel.
20 Create a marquee selection around the round03 shape by Ctrl + clicking on the round03 layer thumbnail in the Layers Panel. Invert the selection by going to Select > Inverse (Shift + Ctrl + I). Select zoom layer and press the Delete key.
21 Keep the marquee selection active, don’t deselect it yet.
Add an outline using a stroke of 3px and color #323232 by doing to Edit > Stroke. Then add an inner shadow layer style (Layer > Layer Style > Inner Shadow): set the Distance option to 0px and Size option to 25px.
22 Create a new layer below round01. Ctrl + click on the thumbnail of round02 to create another marquee selection.
Move the selection vertically using your arrow key so that its lower tip touches the lower tip of round01. Fill the color with black (#000000) by right-clicking on the selection in the canvas and selecting Fill. Deselect (Ctrl + D) and add a Gaussian blur (Filter > Blur > Gaussian Blur) with the Radius option set to 15px.
Finished!
I hope you enjoyed this tutorial. Show us your own work by including it in the Six Revisions Flickr group.
Related Content
-
 President of WebFX. Bill has over 25 years of experience in the Internet marketing industry specializing in SEO, UX, information architecture, marketing automation and more. William’s background in scientific computing and education from Shippensburg and MIT provided the foundation for MarketingCloudFX and other key research and development projects at WebFX.
 -

WebFX is a full-service marketing agency with 1,100+ client reviews and a 4.9-star rating on Clutch! Find out how our expert team and revenue-accelerating tech can drive results for you! Learn more
Make estimating web design costs easy
Website design costs can be tricky to nail down. Get an instant estimate for a custom web design with our free website design cost calculator!
Try Our Free Web Design Cost Calculator
Share this article


Web Design Calculator
Use our free tool to get a free, instant quote in under 60 seconds.
View Web Design CalculatorMake estimating web design costs easy
Website design costs can be tricky to nail down. Get an instant estimate for a custom web design with our free website design cost calculator!
Try Our Free Web Design Cost Calculator


