


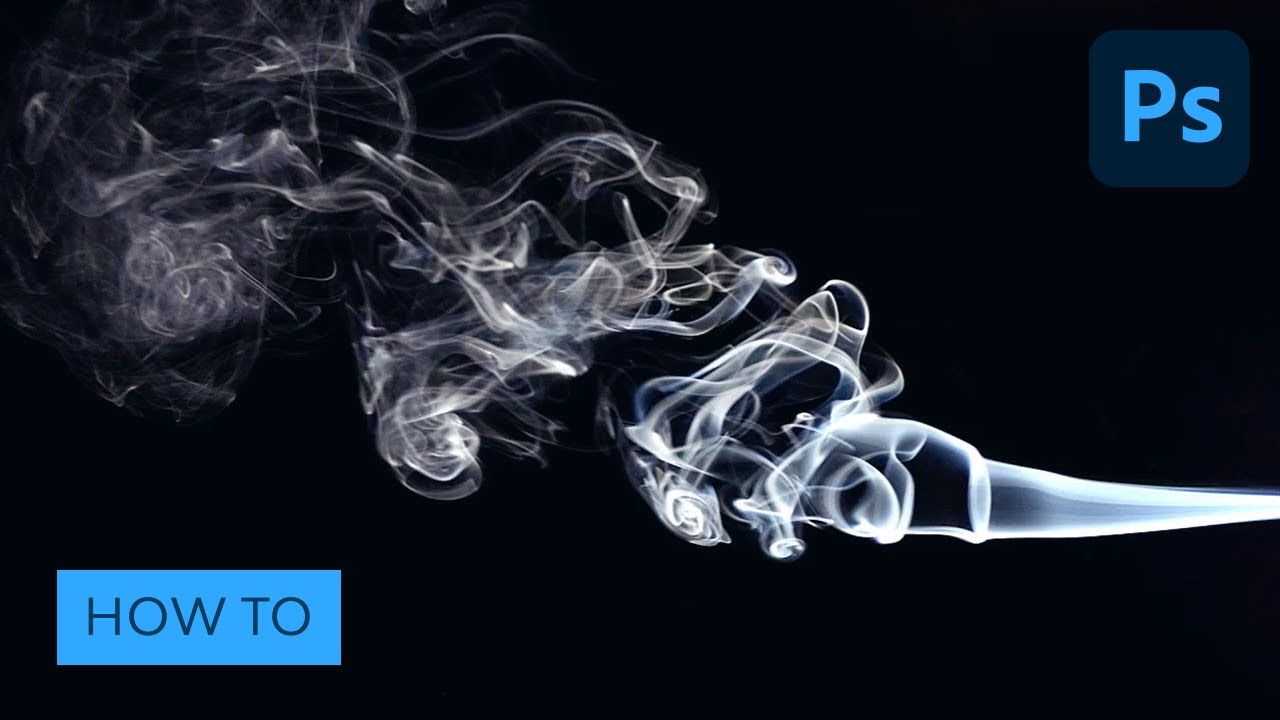
Follow this tutorial to learn how to create a smoke brush in Photoshop.
Smoke trails are elegant, beautiful, and amazing to watch. Thin wisps of smoke dancing through the air reveal just how fluid our atmosphere really is. The effect is deceptively simple, and the dynamics of it are dizzyingly complex.
Recreating believable smoke in a digital environment is no easy task. However, capturing the practical effect is a much easier prospect. In this quick tip, I'll share a technique that I use to create stunningly beautiful custom smoke brushes in Adobe Photoshop.
Follow along with us over on our Envato Tuts+ YouTube channel:
1. How to Create a Practical Effect
The most important thing to remember during this project is safety! Open flames are dangerous, and you should take every precaution to be able to extinguish the fire if things get out of control. Keep a cup of water nearby to douse the lit matches and a fire extinguisher at hand too, just in case!
Step 1
The materials for this project are very simple and probably already found in your house:
- A small but flameproof surface, like a metal cake pan
- Matches (or a lighter)
- Cotton swabs
- Clothespin
- Petroleum jelly


Step 2
Take a cotton swab and coat one end with the petroleum jelly. This becomes the wick of our project. The petroleum jelly will create a very hot flame that will be sustained for much longer than just a match. It will also produce much more smoke.


Step 3
Pinch the clean end of the cotton swab in the clothespin to hold it vertically. Place both on the fireproof surface. I used an inverted cake pan. This way, any scorching that happens will be on the bottom of the pan, and won't make our cakes taste funny!


Step 4
Set the pan somewhere with a very dark background and a controllable light source. You can see my setup here. I have a black backdrop hung across the back wall of the room. The light is positioned behind the wick, off to one side, and pointing upwards. I found this to be the best position to illuminate the smoke without interfering with its movement. After a few test shots, I added the reflecting umbrella to keep the light from spilling out onto the backdrop.


Here's the same setup with the light turned on and the rest of the room darkened.


Even if you don't have the same photographic light equipment, you can make do with a darkened room, a black sheet, and a strong flashlight.
Step 5
Before lighting the wick, work with your camera settings. It is highly unlikely that your camera's auto setting will work, as the camera will say the scene is too dark, and the flash will ruin the shot. Instead, shoot on Manual without a flash. I found that a shutter speed of 1/100, an aperture of F/5.0 and ISO 500 worked really well for my setup. The release mode should be set to Continuous to capture as many frames as possible. Here's a test shot with those settings. It is very dark, but the smoke will stand out nicely!


Step 6
Now it's time to carefully light the wick. If you are using matches, be sure to have a cup of water handy to drop the lit match into.


Allow the wick to burn for a few moments to work up a full head of flame.


Extinguish the flame by gently blowing it out, and behold the beautiful smoke tendrils!


Step 7
Now! Shoot it now! Quickly compose the shot to capture the smoke against the black background. Try to keep the light and wick out of the frame. Then hold down the shutter release to get as many frames as you can until your buffer fills up. The wick will continue to produce smoke for about 30 seconds to a minute, which should allow plenty of time to capture several shots.


Repeat the process as many times as you want to produce more smoke photos. Be sure to dispose of the spent wicks in the cup of water to prevent the smoldering coals from accidentally igniting anything else.
2. How to Create a Smoke Brush in Photoshop
Now that we are done playing with fire, it's time to process those smoke images and turn them into useful digital resources!
Follow along with us over on our Envato Tuts+ YouTube channel:
Step 1
Open one of the photos in Photoshop. Even though the smoke appears to be gray, there is some color information present. Photoshop disregards color when creating a brush, so it is best that we do the same. Add a Black & White Adjustment Layer to desaturate the image.


Step 2
Add a Levels Adjustment Layer and pull the outer handles inwards to touch the edges of the histogram chart. This will increase the contrast of the image and ultimately create a stronger brush effect.


Step 3
Add a new layer just above the background layer and name it Edge Treatment, and then use the Brush (B) with black paint and a large, soft tip to make certain the edges are all completely black. In areas where the smoke touches the canvas edge, reduce the brush Opacity and gently fade the edge to black. This will prevent the custom brush effect from producing sharp edges when used. Use this opportunity to also paint out any stray marks that might disrupt the brush.


Step 4
Photoshop's custom brushes interpret black as positive pixels and white as negative, so the image needs to be black on white, not white on black. Add an Invert Adjustment Layer above the others to completely reverse the black and white values.


Step 5
Photoshop will not define a brush as long as the targeted layer is an Adjustment Layer, so click on the Background layer to make it active and go to Edit > Define Brush Preset. Give the brush a name in the dialogue box and hit OK.
Now, this new brush will be available for you at the bottom of the list of Brush Presets.


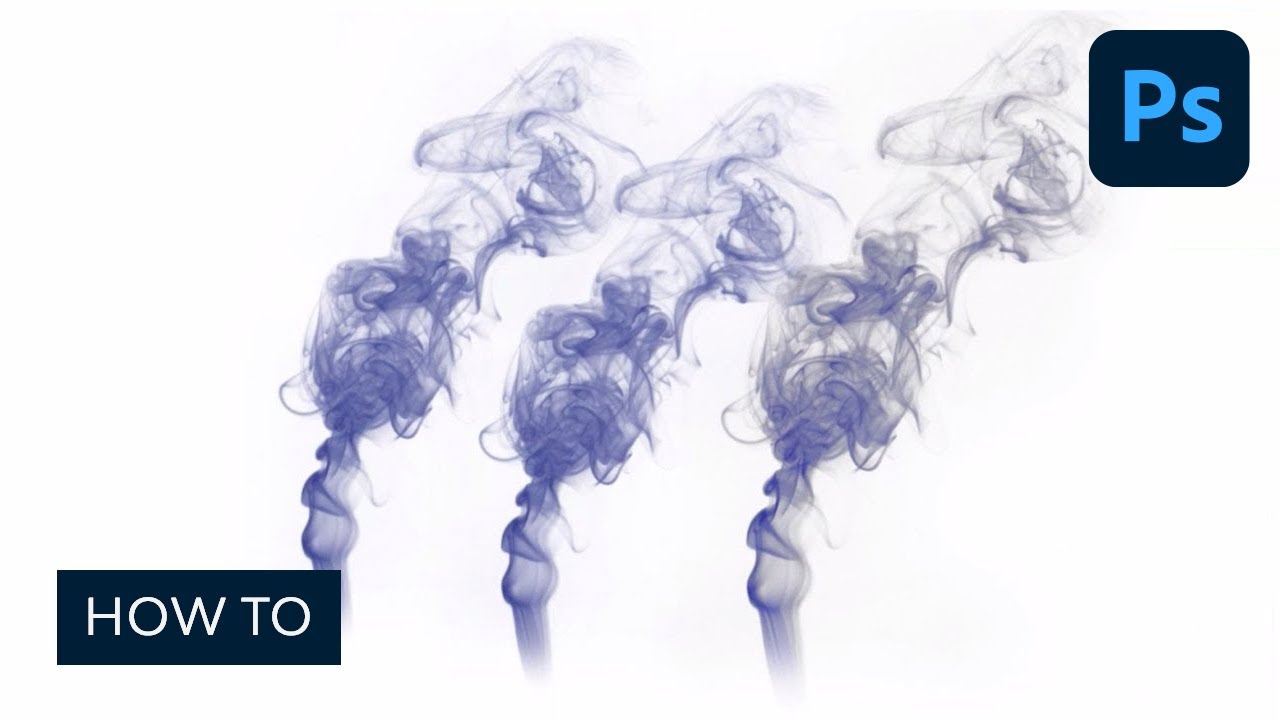
3. How to Use Custom Smoke Brushes in Photoshop
I fully encourage you to follow along with this technique and learn how to create your own custom resources from practical effects. But If you don't have the time to do it yourself, I'm including a full set of my custom smoke brushes for you to use here!
Step 1
Download the attachment for this tutorial and unzip the CustomSmokeBrushes.abr file. Then go to Edit > Presets > Preset Manager. In the Brushes section, use the Load button to navigate to the downloaded file.
This will add 15 custom new smoke brushes to your Brush Presets.


Step 2
Now go be amazing! Take these smoke brushes and use them to create any manner of smoke-filled digital designs. Smoke is an easily recognizable natural element that can be pushed and warped into almost any form, and smoke effects add a sense of dynamic energy to a scene. So use them in fun and creative new ways.


Want More?
Can't get enough custom creative brushes in Photoshop? Hungry to learn more about how to use custom brushes in photo manipulation projects? Check out my profile of courses and tutorials here at Tuts+ and find all that, and much more!
Creating your own library of digital resources pulled from real-world practical effects is a skill that will pay off exponentially in the future. Instead of searching stock sites for interesting textures, try creating some for yourself! I'd love to see them in the comments below.
Top 5 Smoke Resources on Envato Elements
In a hurry? Don't have time to make and process your own set of smoke brushes? Then check out my top five favorite pre-made smoke resources found on Envato Elements!
Realistic Smoke Overlays


Give your photo an extra dose of drama with these Realistic Smoke Overlays! Create the perfect subtle smoke effect using one of the ten different textures. Layer them on top of each other for an even more dramatic photo effect!
50 Smoke Overlays


These smoke overlays are ideal for landscape and action shots! They create a thick but realistic smoky fog effect in just seconds. Simply place the overlay on top of your image, change the mode of the overlay layer to "screen", and that's it!
20 Smoke Photoshop Brushes


These 20 Smoke Photoshop Brushes are the last set of smoke brushes you will ever need! They can create both results and stylized photo effects and are completely customizable. Use them in your photography, graphic design and mixed media projects!
Smoke Photoshop Action


Create an instant smoke photo effect in just a couple of clicks using this Smoke Photoshop Action! You select the subject and let the action do the rest. The end result is an intense smoke-filled photo manipulation!
Smoke Effect


Who says photos get all the fun effects? Use this Smoke Effect pack to create a super trendy smoke text effect. There are 11 different smoke effects in total, and it even includes its very own tutorial!
Finally, feel free to check out even more Photoshop brush tutorials and resources right here!


