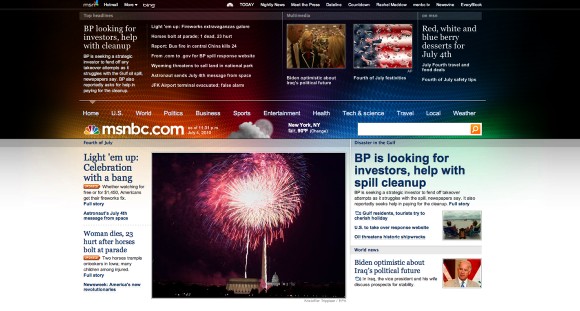
In 2007 I wrote a Photoshop tutorial for PSDTUTS that was a user request, actually it was a request from not one but quite a few readers, they wanted to know how to create the MSNBC header effect. Back in those days it was a brand new design with a very colorful background image on the header. Now in 2010, they have a new website design and I was invited to help them with the background image.
I was stoked, especially because they wanted to keep a colorful effect but with something new. Then I had this idea of using part of their symbol to create a pattern and apply it over the colorful peacock symbol with a lot of blur and light effects.
The whole process is quite simple and straightforward, however it took me some time until I got the idea and got the outcome I wanted, fortunately they liked the idea as well and now it's up on the new MSNBC site design, so check it out too.
New Website
Step 1
I started with a blank document with 1280x1024 pixels, then I filled the background layer with black.
Step 2
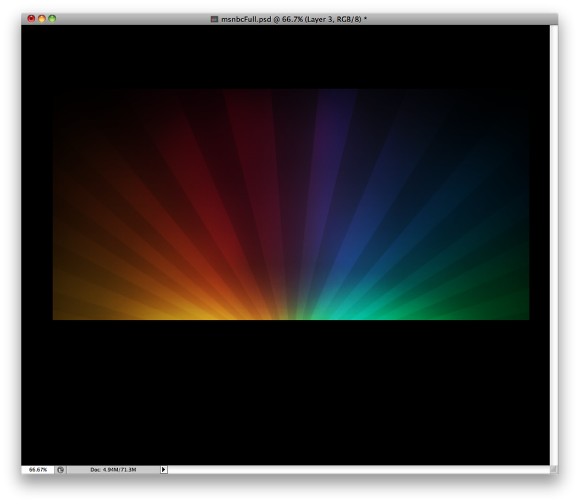
Using one of the images sent by the client I placed it in the center of the document.
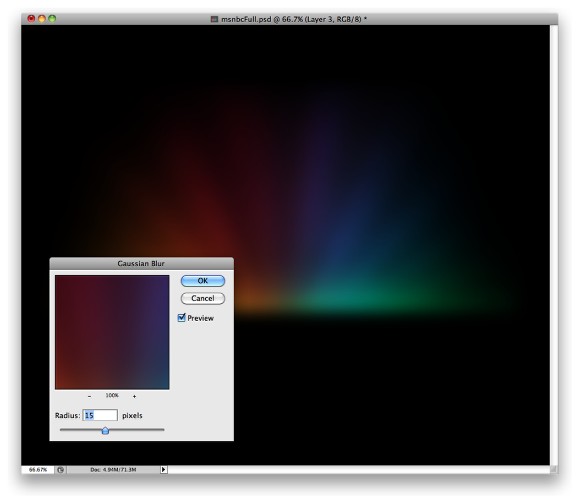
Step 3
I applied a Gaussian Blur to the image with 15 pixels for the Radius.
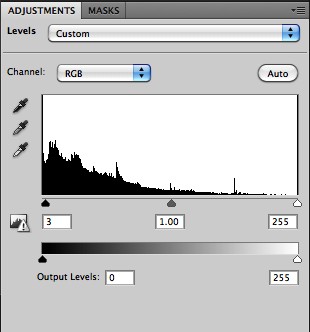
Step 4
The I changed the Levels a little bit, changed the Black input to 3.
Step 5
Here I duplicated the image and changed the Blend Mode to Overlay. After that I grouped these two images into a folder.
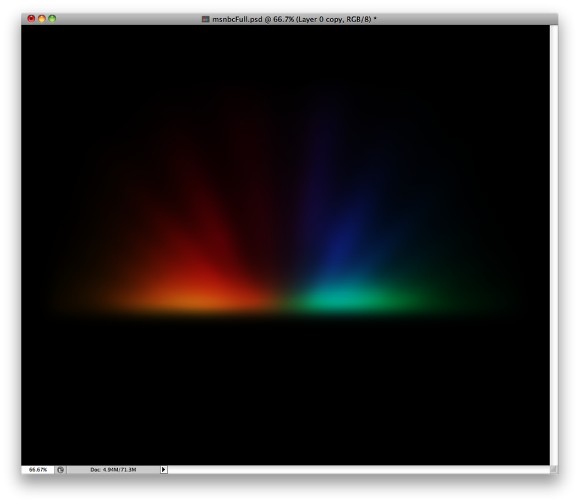
Step 6
Here I duplicated the group and moved it down a little bit then I changed the Opacities to 80%.
Step 7
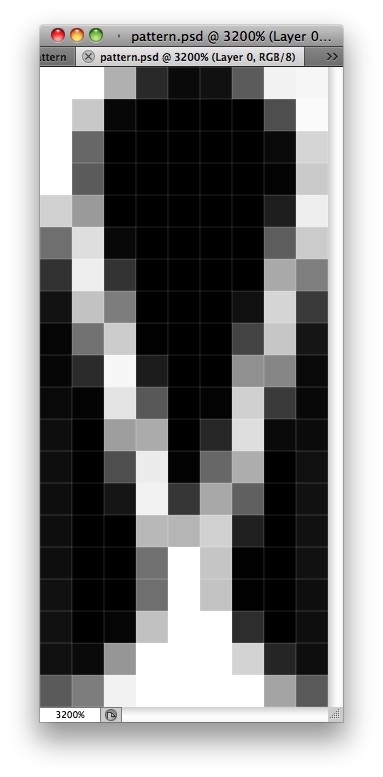
From the peacock symbol of the MSNBC logo I got a feather and fipped it vertically to create a pattern.

Step 8
Here is the pattern I created in order to make it tileable. After that I went to Edit>Define Pattern to make the patttern available for the Paint Bucket Tool(G).
Step 9
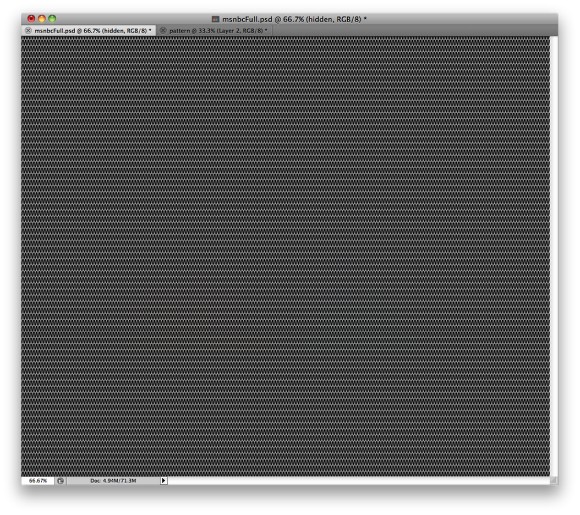
On the top of the other layers I added a new layer and with the Paint Bucket Tool (G) I used Pattern for the type and filled the layer with the pattern created from the MSNBC symbol.
Step 10
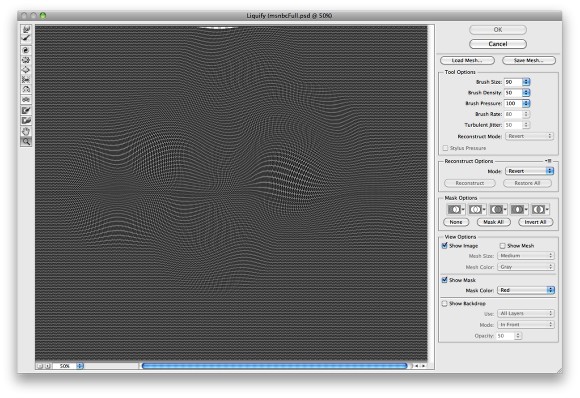
Using the Liquify Tool I modified the pattern to add some movement.
Step 11
For the Blend Mode of the pattern I used Color Dodge with 30% Opacity. I also duplicated the pattern layer to make the effect a little bit brighter.
Step 12
Here I selected all layers and duplicated them, after that I fliped the copied layer and changed the Blend Mode to Screen with 30% Opacity. I also applied more Gausian Blur to this layer in order to create a wet floor reflection effect.
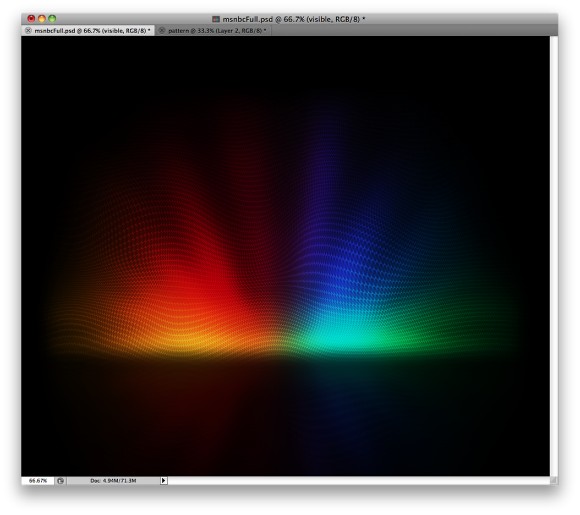
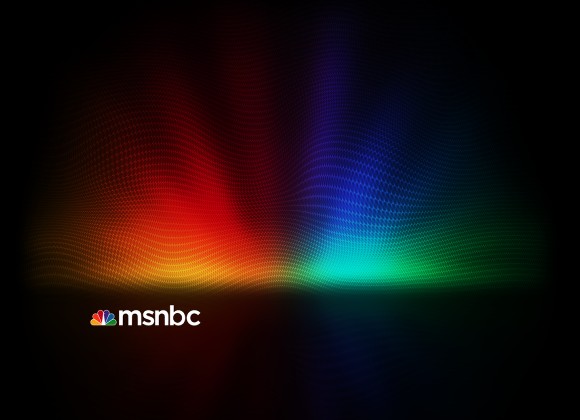
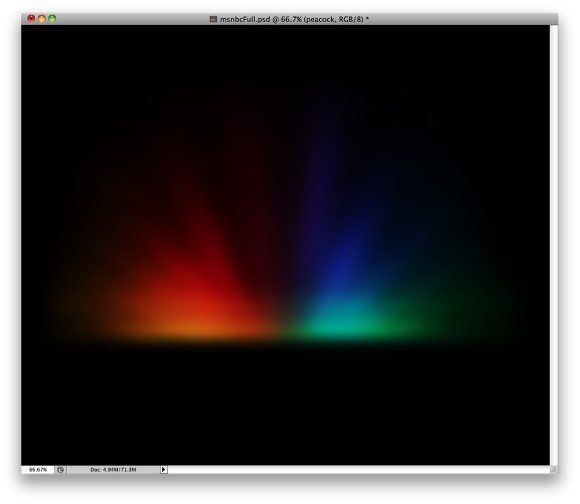
Conclusion
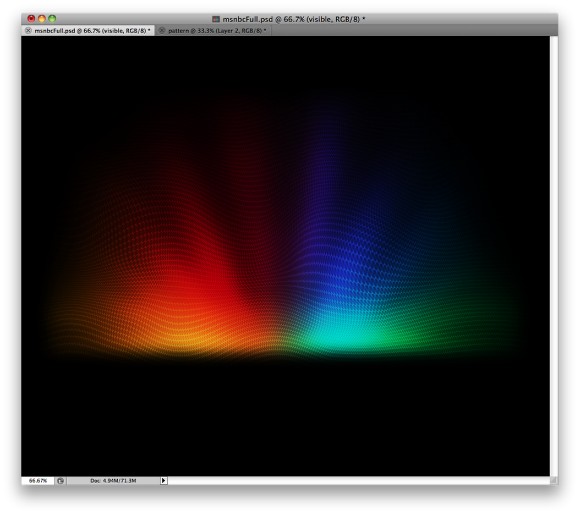
The final outcome of the effect in black background. After that I had to test it with elements over it because this image would be used as the background of the new website. However as you can see the whole process was very simple once I got the idea of using the symbol to create the pattern and applied it with the liquify to create this net in movement effect.